✿¸.•´ི♥All About Me♥ྀ `•.¸✿

- ✿¸.•´ི♥Sexy Ash♥ྀ `•.¸✿
- Mackay, QLD, Australia
- Heya..Im Sexy Ash and im addicted to psp heehee.. ive been psping for about 5 or so yrs now and i love it.. Im a mum of a beautiful 5 yr old Hannah and she occupies most of my time. So i use psp to escape lol. Here ull find all my Tuts and Temps. If you have any questions please feel free to ask me!!
✿¸.•´ི♥TOU♥ྀ `•.¸✿
The creation, concept, and ideas of these tutorials is of my own imagination and design.
Should anything resemble another tutorial, this is only pure coincedence.
DO NOT copy my tutorials anywhere on the web or claim as your own!
I DO NOT give permission for my tutorials to be translated.
Please NO hotlinking, this is bandwidth theft!
DO NOT use my tutorials/ideas/supplies for commercial use or any other monetary gain
✿¸.•´ི♥Chat Box♥ྀ `•.¸✿
✿¸.•´ི♥Lables♥ྀ `•.¸✿
- Addictive Pleasures - Tutorial
- Collab Templates
- Crafty Chick Exclusive Tag Templates
- FTU tutorial
- Juicy Bits Exclusive Tag Template
- Misfit - Templates
- No Scraps Tutorial
- Pink Pleasure - Tutorial
- Pink Princess Scraps - Tutorial
- PMTWS - Tutorial
- Scraps With Attitude - Tutorial
- Tag Template
- Toxic Desirez - Tutorial
✿¸.•´ི♥Music♥ྀ `•.¸✿
 ~My First Award ~


 One of a Kind

This tutorial is for those that have a working knowledge of Psp.
Supplies needed:
Tube of choice. I’m using the artwork of Elias Chatzoudis. You have to purchase a license to use his work at MPT
Template # 281 by Missy - download for free from her blog Divine Intentionz
add your tube of choice - delete excess - add xero radience with these settings 188,174,59,154. Add a dropshadow of choice.
Copy and paste your tube again to the bottom cirle and place to the right and delete excess so its just in the circle. Duplicate - guassion blur 3.00 and change the blend mode to soft light.
Now with the black glittered circle - change colour add 100% noise
On the left half i added xero - fritillary 6,30,100,76 and on the other half i added pentas jeans 17, 11.
Then add wording (i added "one of a kind") and a thick gradient glow to your cirlce.
Change the colour to your word art to match your tube.
Then to save with a transperent background you just hide the white background - merge visable - delete the white background - then save as .png
Finished
Thankyou
This tut was created on November 2009

 Passion
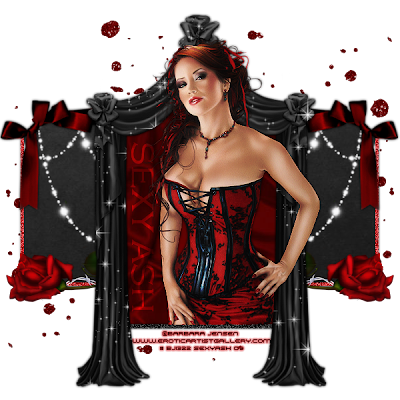
This tutorial is for those that have a working knowledge of Psp.
Supplies needed:
Tube of choice. I’m using the artwork of Barbra Jensen. You have to purchase a license to use her work here
My Heart Bleeds For You Scrapkit - is made by Tamie and Vicki and can be purchased here
Template # 85 by Kristin - download for free from her blog Toxic Desirez
ok here we go...
Open your template in psp and change the canvas size to 600 by 600 to give you more room to work.
Add your copyright and license number and name
Then to save with a transperent background you just hide the white background - merge visable - delete the white background - then save as .png
Finished
Thankyou
This tut was created on October 2009

 Sexy Bitch
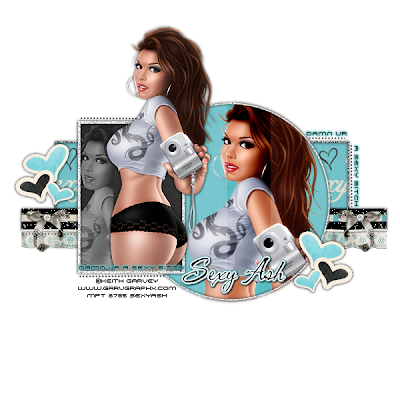
This tutorial is for those that have a working knowledge of Psp.
Supplies needed:
Tube of choice. I’m using the artwork of Keith Garvey. You have to purchase a license to use his work at MPT
Girls on Film Scrapkit - is made by TammyKat and can be purchased here
Template # 4 by Mirella - download for free from the Creative Misfits blog
ok here we go...
Open your template in psp and change the canvas size to 600 by 600 to give you more room to work.
Then to save with a transperent background you just hide the white background - merge visable - delete the white background - then save as .png
Finished
Thankyou
This tut was created on October 2009

 What a Girl Wants

This tutorial is for those that have a working knowledge of Psp.
Supplies needed:
Tube of choice. I’m using the artwork of Keith Garvey. You have to purchase a license to use his work at MPT
Teen love Scrapkit - is made by Tammy and Missy at Scraps with Attitude
Template # 257 by Missy - download from her blog here
ok here we go...
Open your template in psp and change the canvas size to 600 by 600 to give you more room to work.
Add your copyright and license number and name
Then to save with a transperent background you just hide the white background - merge visable - delete the white background - then save as .png
Finished
Thankyou
This tut was created on October 2009

 Glam Babe
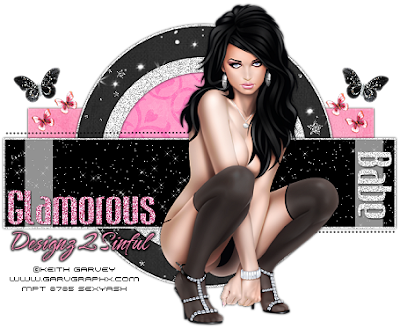
This tutorial is for those that have a working knowledge of Psp.
Supplies needed:
Tube of choice. I’m using the artwork of Keith Garvey. You have to purchase a license to use his work at MPT
Glamorous Scrapkit - is made by Candy Kisses Designs you can purchase this kit from Scraps With Attitude
Template # 1 by Mirella - you can download this temp from the Creative Misfits Blog here
ok here we go...
Open your template in psp and change the canvas size to 600 by 600 to give you more room to work.
Add your copyright and license number and name
Then to save with a transperent background you just hide the white background - merge visable - delete the white background - then save as .png
Finished
Thankyou
This tut was created on oct 2009

 Material Girl
This tutorial is for those that have a working knowledge of Psp.
Supplies needed:
Tube of choice. I’m using the artwork of Keith Garvey. You have to purchase a license to use his work at MPT
Mterial Girl Scrapkit - is made by Sarah and Danielle at pimp my tags with scraps
Template # 11 by Sylvie - download from her blog here
Open your template in psp and change the canvas size to 600 by 600 to give you more room to work.
Then to save with a transperent background you just hide the white background - merge visable - delete the white background - then save as .png
Finished
Thankyou
This tut was created on sep 2009

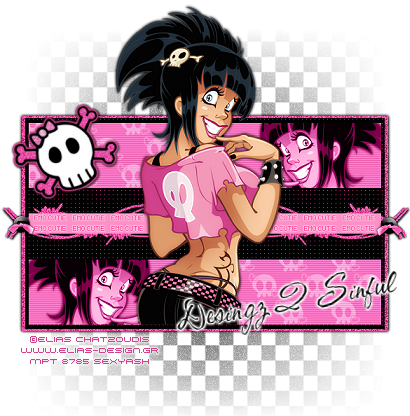
 Emo Cutie
This tutorial is for those that have a working knowledge of Psp.
Supplies needed:
Tube of choice. I’m using the artwork of Elias Chatzoudis. You have to purchase a license to use his work at MPT
Punk Princess kit - is made by Kristin but can no longer be downloaded from her blog, just use a similar one :)
Template # 72 by Kristin - download for free from her blog here
ok here we go...
Open your template in psp and change the canvas size to 600 by 600 to give you more room to work.
Add tube then useing xero- radience add with these settings 38,50,16,115 and place in desired postion. add dropshadow - Duplicate and use sections of the extra tube to fill in the pink rectangles if you want that effect. I changed the blend mode to luninance (legancy)
Now select your bottom rectangel - select all float defloat, on a new raster layer add a colour of choice - select none. Add 50% noise, Now on your original layer resize by 98% and i removed the TONE layer.. add dropshadow to layer with noise.
Now on the pink rectangles i added PhotoEffex-Scanlines with these settings 1,2,20,10,0,0 vut if you dont have that then you can use blinds also
Now on your black rectange all Weave with these settings 1,5,5 colour of choice
I also changed the colour to my middle smaller rectange to suit my tag
Now useing the barb wire from the kit add a dropshadow - duplicate and mirror.. now merge together and move into the middle of your canvas
Add additional elements of choice
Add your copyright and license number and name
Then to save with a transperent background you just hide the white background - merge visable - delete the white background - then save as .png
Finished
Thankyou
This tut was created on August 2009

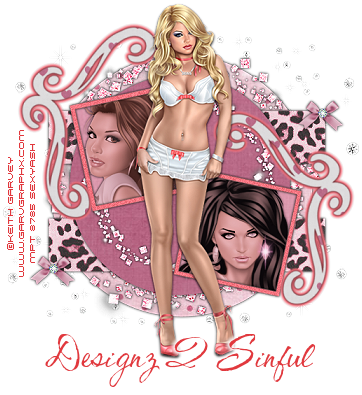
 Pop My Cherri
This tutorial is for those that have a working knowledge of Psp.
Supplies needed:
Tube of choice. I’m using the artwork of Keith Garvey. You have to purchase a license to use his work at MPT
Pop My Cherry Scrapkit - is made by Vicky and you can purchase it from Pink Princess Scraps
Template # 45 by Melissa - download for free from her blog here
ok here we go...
Open your template in psp and change the canvas size to 600 by 600.
Copy - paste your tube onto your canvas and resize by 80% - sharpen. Now place into the bottom square and delete excess.
Useing another tube select the top square - float - defloat - copy and paste your tube into the square -invert and delete. Now useing Xero-Porcelain with these settings 50,128,128 press ok.
Now select your circle and add raster layer - add colour and noise at 40%. Back on the original layer bring ontop of the glittered circle and resize by 95% and add a paper of choice. Add dropshadow and delete origianl layer
Now useing papers from your kit fill in the rest of the shapes adding dropshadows and deleteing original layers on the way.
Now take the big bow and copy - paste and mirror. Add dropshadow. Then useing a diamond copy and paste onto canvas and resize and place in the middle of the bow.
I also added handcuffs and the curtain elements
Add your copyright and license number and name
Then to save with a transperent background you just hide the white background - merge visable - delete the white background - then save as .png
Finished
Thankyou
This tut was created on August 2009

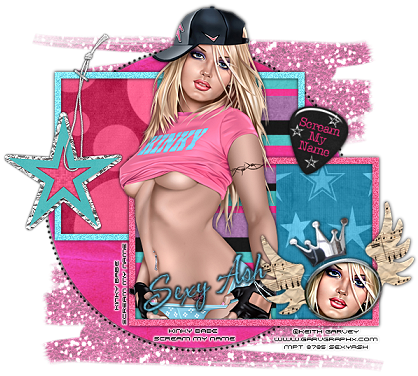
 Kinky Babe
Supplies needed:
Tube of choice. I’m using the artwork of Keith Garvey. You have to purchase a license to use his work at MPT
Scream My Name Scrapkit - You can purchase this kit from Here
Template #254 by Missy - download for free from her blog Divine Intentions
ok here we go...
Open your template in psp and change the canvas size to 600 by 600 to give you more room to work.
Then to save with a transperent background you just hide the white background - merge visable - delete the white background - then save as .png
Finished
Thankyou
This tut was created on August 2009

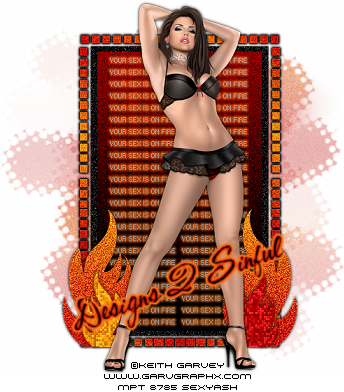
 Sex On Fire
This tutorial is for those that have a working knowledge of Psp.
Supplies needed:
Tube of choice. I’m using the artwork of Keith Garvey. You have to purchase a license to use his work at MPT
Temp by Kristin and you can get this a the Creative Misfits Blog
ok here we go...
Open your template in psp and change the canvas size to 600 by 600 to give you more room to work.
Then to save with a transperent background you just hide the white background - merge visable - delete the white background - then save as .png
Finished
Thankyou
This tut was created on August 2009

 Something Wicked
This tutorial is for those that have a working knowledge of Psp.
Supplies needed:
Tube of choice. I’m using the artwork of Keith Garvey. You have to purchase a license to use his work at MPT
Template # 66 by Kristin - download for free from her blog Toxic Desirez
Elements and Mask of Choice
ok here we go...
Open your template in psp and change the canvas size to 600 by 600 to give you more room to work.
Now on your template delete the pointed circle, bat, dotted border and the wicked babe word art.
Copy and paste your tube onto your canvas - add a dropshadow - delete excess and add Xero-Radience with these settings 45,87,0,117
Select your main rectangle and fill with a gradient with two colours from your tube. Add penta-Jeans set at 20,4
Add a colour to your "you will fear the wicked queen" word art and then add noise at 50% - sharpen and add a gradient golw
Now select your border and useing a colour that matches your tube and floodfill with the colour and add a small amount of noise. add a gradient glow
Click on your thin rectangles and add a colour, Useing textured effect - Weave set at 1,1,5 (a different colour) add that to your shape
Now duplicate your tube and mirror it. Then place on the left of your tag and delete excess tube. Change the blend mode to Luminance (legacy) and change the opacity to 70%
NOTE: youll have to delete some of the wording in the main rectange so it doesnt show thro the tube.
Add a mask of choice and then useing penta's-colourdot set at 70,6,255,255,255 add this to your mask. Then useing dsb flux - Bright noise 25% Lighter click ok
Now add your elements of choice to finish off your tag.
Add your copyright and license number and name
Then to save with a transperent background you just hide the white background - merge visable - delete the white background - then save as .png
Finished
Thankyou
This tut was created on July 2009

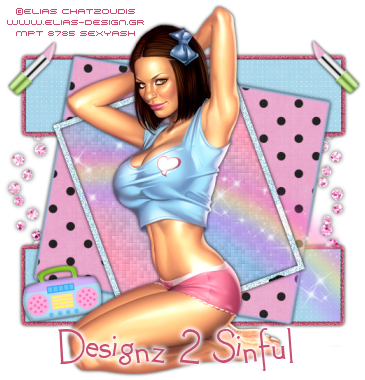
 Rockin it girly style
This tutorial is for those that have a working knowledge of Psp.
Supplies needed:
Tube of choice. I’m using the artwork of Elias Chatzoudis. You have to purchase a license to use his work at MPT
Rockin it girly style Scrapkit - is made by Vicky and can be purchased at Pink Princess Scraps
Template # 2 by Melissa - download for free from her blog here
Open your temp and change the canvas size to 600 by 600
Now on your temp delete the skulls and the wordart layers we dont need them for this tag
Then add your tube place in the middle of you tag and add Xero-Bad Dream with these settings 178,40 No colour. Add a drop shadow
Ractangles: Add a paper of choice and then on the original layer add a thick gradient glow and noise at 40%. And on the paper layer add penta-colourdot with these settings 90,7,255,255,255
Bigger Square: Select all - float - defloat Useing a paper from your kit copy - paste onto your tag over the square invert - delete. Add a gradient glow and dropshadow
Smaller Square's Frame: Add a paper and noise at 35%. Add a dropshdow.
Smaller Square: Choose two colours from your tube and in your materials make a gradient angel at 45 and repeats at 4. Add this to your square and then useing Xero-Fritallary set at 5,30,10,10 add this to your square.
Now take your rainbow element and add it to your tag and place to the left and delete any excess raidbow you dont want.
Then take your diamond circle - resize by 80% and place at the bottom of all your layers. i deleted the top and botton so it only shows on the side of the tag.
Now useing any other elements of your choosing finish off your tag.
Add your copyright and license number and name
Then to save with a transperent background you just hide the white background - merge visable - delete the white background - then save as .png
Finished
Thankyou
This tut was created on August 2009

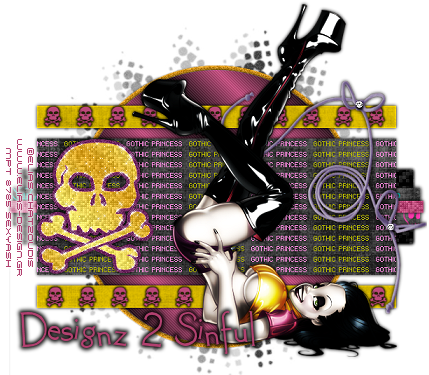
 Gothic Princess
This tutorial is for those that have a working knowledge of Psp.
Supplies needed:
Tube of choice. I’m using the artwork of Elias Chatzoudis. You have to purchase a license to use his work at MPT
Toxic Rock Scrapkit and Template # 69 - Made by Kristin and you can find it at her blog Toxic Desirez
Mask 147 by Vix and you can find it at her blog here
ok here we go...
Open your template in psp and change the canvas size to 600 by 600 to give you more room to work.
Copy and paste your tube onto your tag and add Xero-Radiance with these settings -128,50,128,255. Then add a dropshadow
Now click on the "words" layer and useing your freehand selection tool and holding down the shift button trace around the first, third and 5th sections of the wording and colourise to match your tube. Then duplicate the wording and invert and delete on the dupicated layer. Then colourise that layer with a different colour from your tube.
Now select the large rectangle and copy - paste a paper of choice amd invert - delete. Add a drop shadow
Then click on the larger skull and select all - float - defloat and add a colour of choice. Then add Xero-Fritallery with these setting 3,30,10,26
Now on the original layer add a thick gradient glow with the smooth corners at 100% and then add noise set at 20%
Next select the "skulls" layer and select all - float - defloat and add a colour of choice then add a gradient glow with a colour from your tube.
Useing other papers from your kit fill the remaining shapes on your template - note: i used xero-fritallary with the same settings as above on some of the rectangles.
For your main circle go into your materials and choose two colours that match your tag and make a gradient with the settings of angle - 45 and repeats at 7. Then fill your circle with that gradient and ten add Penta's-Jeans with these settings 20,4. Add a drop shadow
Now add your elements of choice to your tag.
Then add your mask and add noise and change the opacity to 80%
Add your copyright and license number and name
Then to save with a transperent background you just hide the white background - merge visable - delete the white background - then save as .png
Finished
Thankyou
This tut was created on July 2009

 Sex Kitten
This tutorial is for those that have a working knowledge of Psp.
Supplies needed:
Tube of choice. I’m using the artwork of Keith Garvey. You have to purchase a license to use his work at MPT
Sex kitten Scrapkit - Made by Vicky. You can purchase the kit at her site Pink Princess Scraps
Template # 63 by Melissa - download for free from her blog here
Open your template in psp and change the canvas size to 600 by 600 to give you more room to work.
Then to save with a transperent background you just hide the white background - merge visable - delete the white background - then save as .png
Finished
Thankyou
This tut was created on July 2009

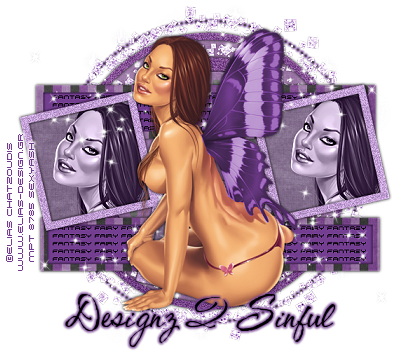
 Fairy Fantasy
Supplies needed:
Tube of choice. I’m using the artwork of Elias Chatzoudis. You have to purchase a license to use his work at MPT
Bling a Ling scrapkit- made my yvette at Misfits Scrapz
Open your template in psp and change the canvas size to 600 by 600 to give you more room to work.
Then useing either colours or a scrap kit of choice fill in all the shapes and borders on you template.
Then to save with a transperent background you just hide the white background - merge visable - delete the white background - then save as .png
Finished
Thankyou
This tut was created on July 2009

 Rac Stalker
This tutorial is for those that have a working knowledge of Psp.
Supplies needed:
Tube of choice. I’m using the artwork of Ismeal Rac. This is an exclusive from the Official Xeracz Stalkers Forum
Misfits Rock Scrapkit - is made by Bel Vidotti and is an exclusive at Creative Misfits
Template # 250 by Missy - download for free from her blog here
Now useing your tube of choice add it to your template and remove excess tube, then add a dropshadow.
Then to save with a transperent background you just hide the white background - merge visable - delete the white background - then save as .png
Finished
Thankyou
This tut was created on July 2009

 Punky
Punky
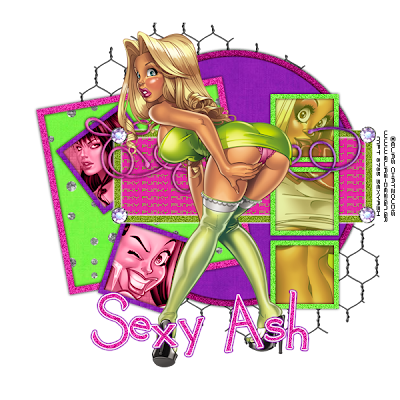
Supplies needed:
Tube of choice. I’m using the artwork of Elias Chatzoudis. You have to purchase a license to use his work at MPT
Punky Scrapkit - is made by Bel Vidotti and is an exclusive at Creative Misfits
Template # 83 by Melissa - download for free from her blog here
Then to save with a transperent background you just hide the white background - merge visable - delete the white background - then save as .png
Finished
Thankyou
This tut was created on July 2009

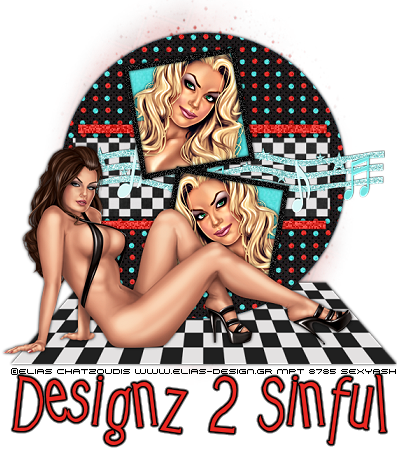
 Diner Days
This tutorial is for those that have a working knowledge of Psp.
Supplies needed:
Tube of choice. I’m using the artwork of Elias Chatzoudis. You have to purchase a license to use his work
Rock Around The Clock Scrapkit - You can purchase this kit from HERE
Template #232 by Missy - download for free from her blog here
Mask of choice
ok here we go...
Open your template in psp and change the canvas size to 600 by 600 to give you more room to work.
Then useing either colours or a scrap kit of choice fill in all the shapes on you template. Note: i deleted all the dotted lines.
Now on you 2 thinner rectangles add a colour from your tube then useing Xero - Fritallary use these settings 2,30,10,43 then click ok.
Now useing your tube of choice add it to your template then add a dropshadow.
Then select one of the smaller squares and fill it with a colour or paper of choice then add you tube invert and delete. I used Xero - Clarity set on 128 on my tubes in the squares. Do this with both.
Now useing your elements of choice dress up your tag. Note i used the line of notes and the checked floor shes sitting on.
Then add a mask of choice and your done.
Add your copyright and license number and name
Then to save with a transperent background you just hide the white background - merge visable - delete the white background - then save as .png
Finished
Thankyou
This tut was created on July 2009

 ToonTastic
Supplies needed:
Tube of choice. I’m using the artwork of Armando Huerta. You have to purchase a license to use his work Here
Mad Hatters Tea Party Scrapkit - You can purchase this kit from Here
Template # 177 by Missy - download for free from her blog Here
Ok first off open ur template in psp and change the canvas size to 600 by 600 to give you more room to work with.
Then to save with a transperent background you just hide the white background - merge visable - delete the white background - then save as .png
Finished
Thankyou
This tut was created on July 2009

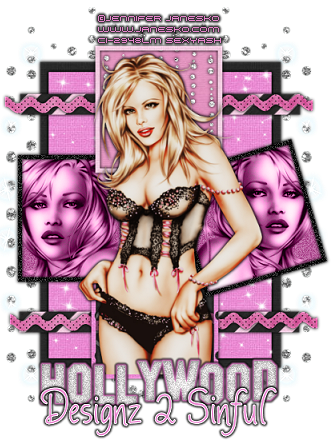
 Hollywood Beauty
Supplies needed:
Tube of choice. I’m using the artwork of Jennifer Janesko. You have to purchase a license to use her work Here
She's A Star Scrapkit - You can purchase this kit from Here
Template # 67 by Melissa - download for free from her blog Here
ok here we go...
Then to save with a transperent background you just hide the white background - merge visable - delete the white background - then save as .png
Finished
Thankyou
This tut was created on July 2009

 ~Sexy Gurls~
This tutorial is for those that have a working knowledge of Psp.
Supplies needed:
Tubes of choice. I’m using the artwork of Ismael Rac. You have to purchase a license to use his work from AMI
Peep Show Scrapkit - can be purchased from here
Template # 29 made by sara
ok here we go...
Open a new canvas 550 by 550 and floodfill with white so you can see what your doing. Copy and past the template as a new layer and resize to your liking. Then place the template into the center of your page.
Click on the main rectangle, select all - select float - select defloat. Then choose a paper of your choice from your kit and paste it onto your canvas. Place over your shape then click invert and then delete. Add a dropshow of choice. Repeat that process for the remaining shapes until happy.
NOTE: i actually duplicated and flipped the 2 little squares but thats totally upto you.
Next take you tube of choice and place into the bigger square. Useing ur magic wand select the smaller squares and useing a different tube or the same one place in the square then invert and delete.
Merge all the tubes in the little squares and then go to the right hand side click on the layer and add a blend mode. I used luminance (legacy).
Now add desired elements onto you tag.
Add your copyright and license number and name
Then to save with a transperent background you just hide the white background - merge visable - delete the white background - then save as .png
Finished
Thankyou
This tut was created on July 2009

 My New Home :)

✿¸.•´ི♥Contact Me♥ྀ `•.¸✿
✿¸.•´ི♥Forums I Love♥ྀ `•.¸✿


